

How to Prevent Tile Deterioration?
January 19, 2024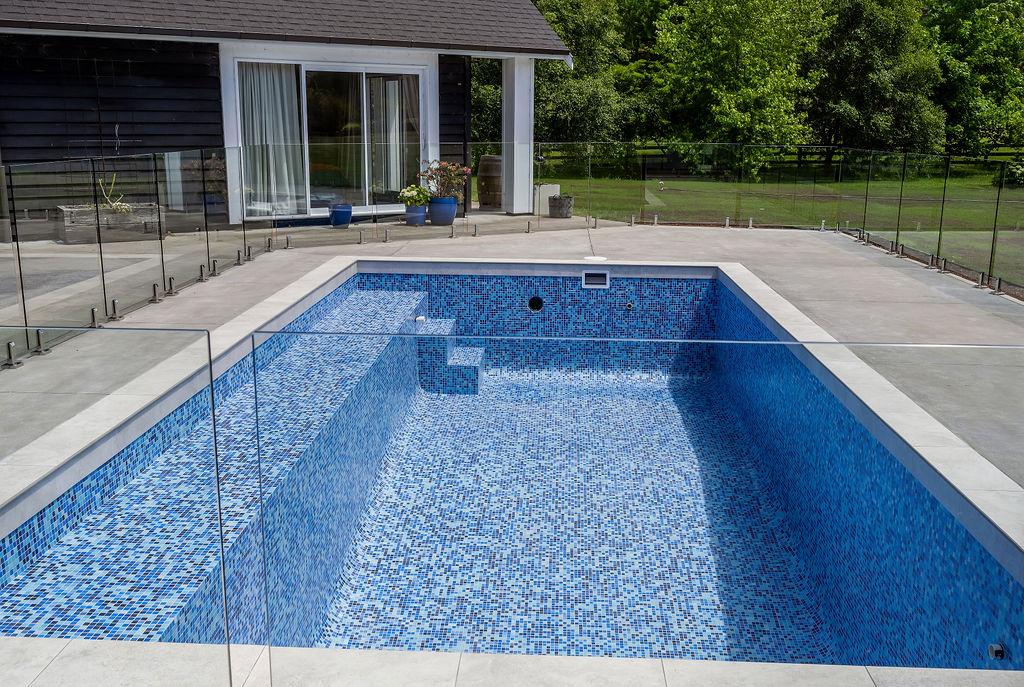
Tiling Your Pool – What to Know
January 8, 2025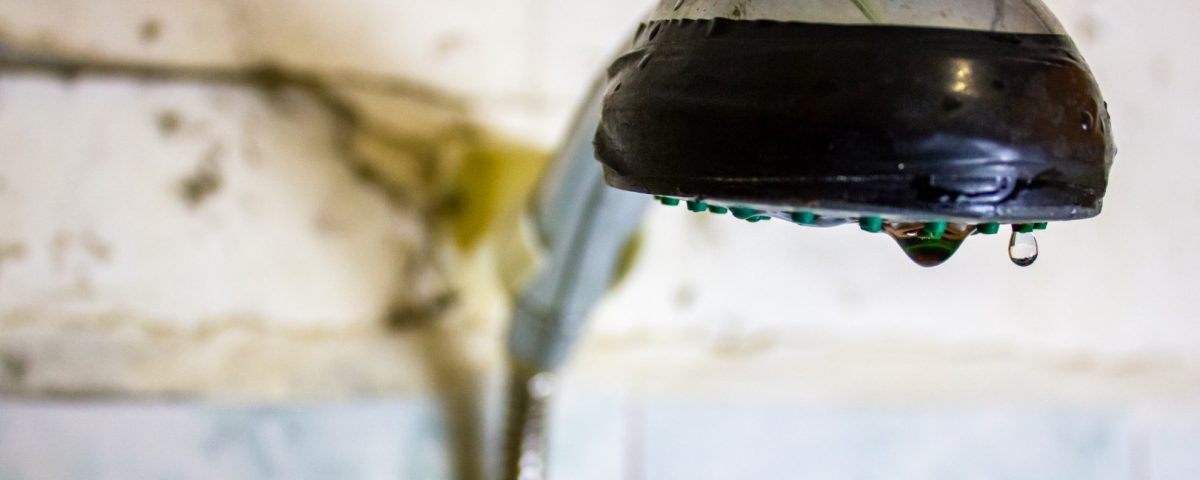
Leaking Shower? 8 Common Causes and Solutions
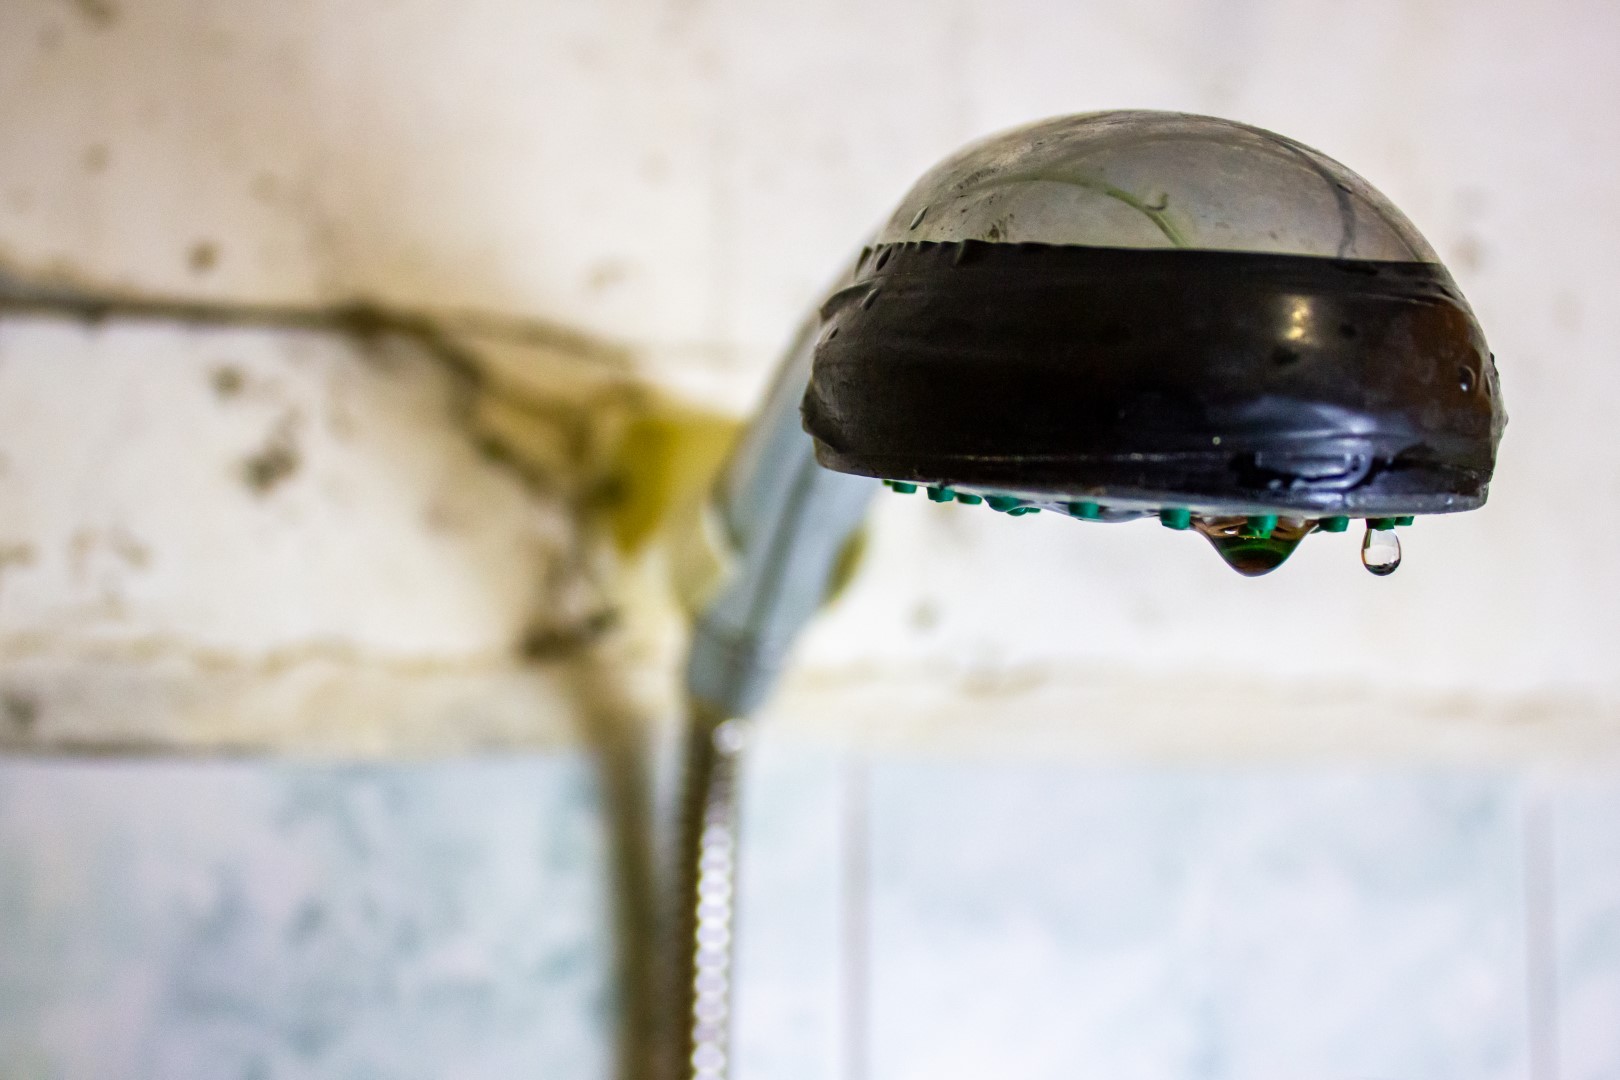
Why Is Your Shower Leaking? Let’s Find Out
Finding a leak in your shower can be a frustrating experience. Not only does a leaky shower lead to water wastage, but it can also cause damage to your bathroom and potentially lead to costly repairs.
The first step in addressing the problem is finding out where and why the shower is leaking. It could be a plumbing issue, a shower tap leaking, a crack in the tiling, or something else entirely.
Let’s discuss the eight tell-tale signs, common culprits, and effective ways to repair a leaking shower.
8 Tell-Tale Signs You Have a Leaking Shower
It isn’t always obvious when your shower leaks. These are some of the main signs you might need to repair or replace some parts in your bathroom.
1. Higher monthly water bills
Check and compare your water bills across the months. If you find yourself spending more on water each month but aren’t showering any more than usual, that could indicate that your water– and money– is leaking elsewhere.
2. Puddles or damp patches around the shower or sink
Water leaking on the shower floor, even when the door is closed, is a likely sign that your door seal is broken.
3. Mould in unusual areas
Damp bathrooms are breeding grounds for mould. If your bathroom leaks, you’ll probably notice the unusual dark mould spots around the room first.
4. Wobby shower fixtures
A loose shower head or faucet might not seem like a significant issue at first, but the worn-down parts can quickly cause persistent dripping or leaking.
5. Water damage on the ceiling below a second-floor bathroom
Bathroom damage can often go beyond the bathroom itself. If you have another room below a broken shower, the water could cause damp spots or even leak down to the floor.
6. Unusual noises
Strange sounds when you aren’t using appliances are a possible sign of leakage. That constant drip you hear could be from a leaky shower head or cracked pipes behind the wall.
7. Musty smells
When water pools up without any way to evaporate, it can cause mouldy buildup that leads to a musty or rotten smell. If you’ve caught a whiff of a mysterious musty scent, it could indicate a bigger issue is at play.
8. Low water pressure
Shower not strong enough? A leak in your shower head or pipes might cause the low water pressure.
The 8 Common Culprits of a Leaky Shower
Leaky showers can come from all sorts of issues, but here are some of the most common causes. Check your home for signs of these issues and find out how to fix your shower leak below.
1. Worn-out seals
Shower door seals can wear down over time. You may need to replace them to keep your shower watertight.
2. Faulty shower head or faucet
Wear and tear or improper installation can cause shower fixtures to leak. The fix can be as simple as tightening the faucet or buying a new replacement.
3. Clogged drain pipe
Clogged drains lead to water backup. Clear the pipe from hair, soap scum, and debris to let the water flow free.
4. Faulty plumbing
Past plumbing issues might be the cause of your leaky shower. In this case, hiring professional plumbers can take care of the problem.
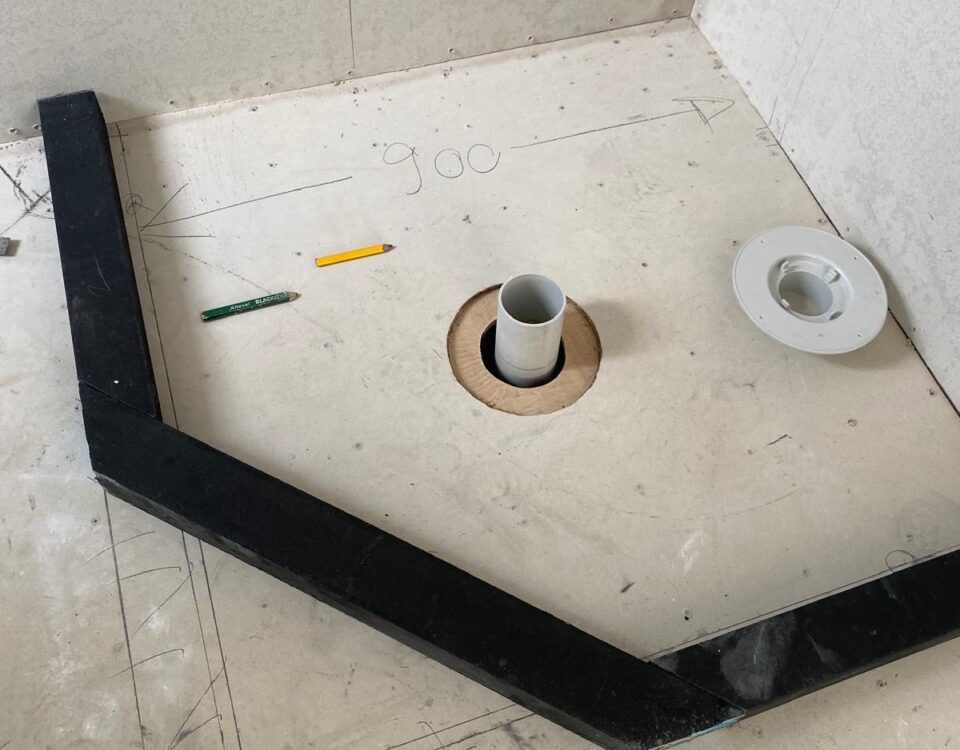
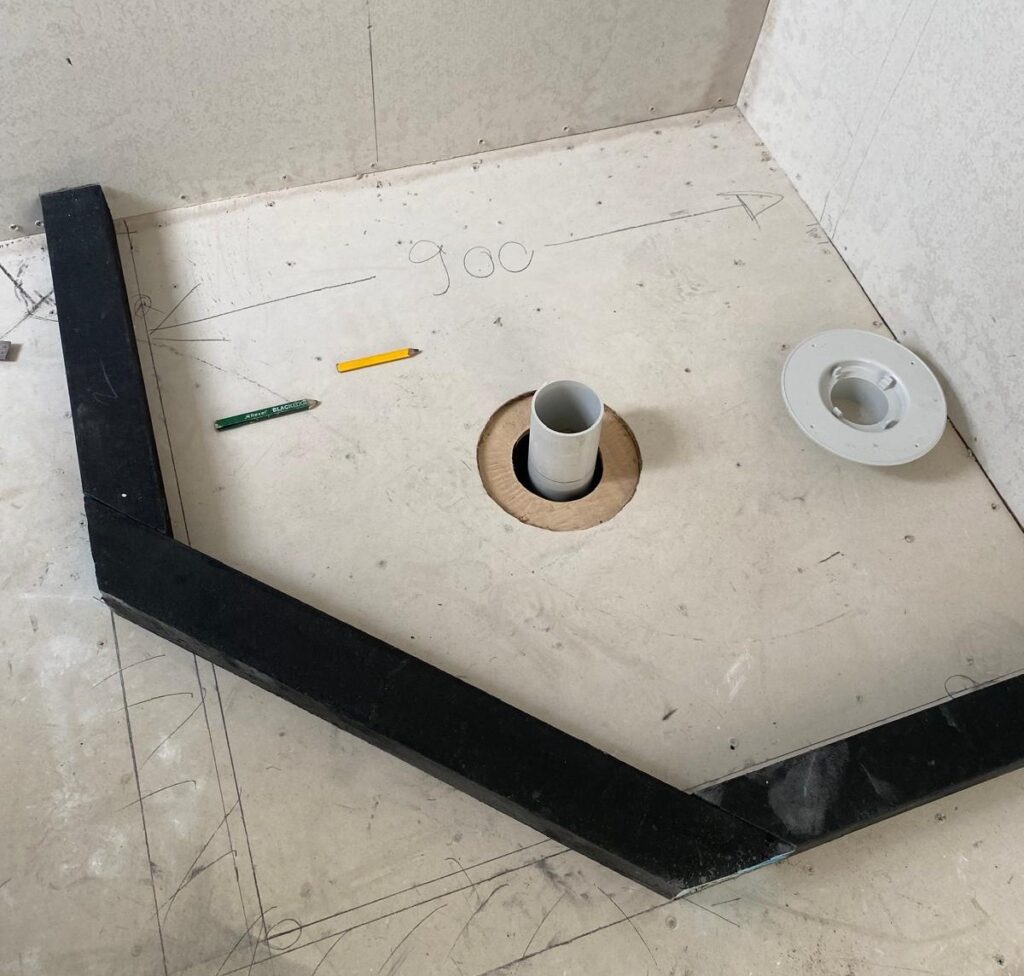
5. Leak in the waterproofing under the tile
Damaged waterproofing or waterproofing that wasn’t installed correctly can each cause water in the bathroom to leak into the rest of the house.
6. Post-tile installations (grab bars, soap dishes, etc.)
Installing a grab bar or soap dish on the shower wall could have damaged the surface and led to leaks.
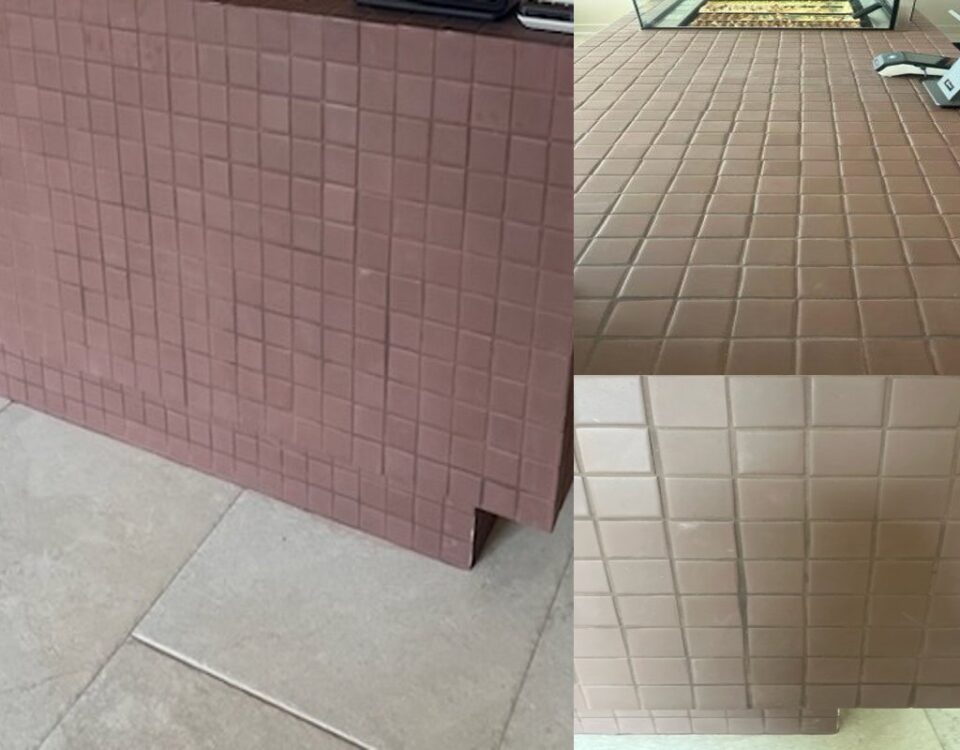
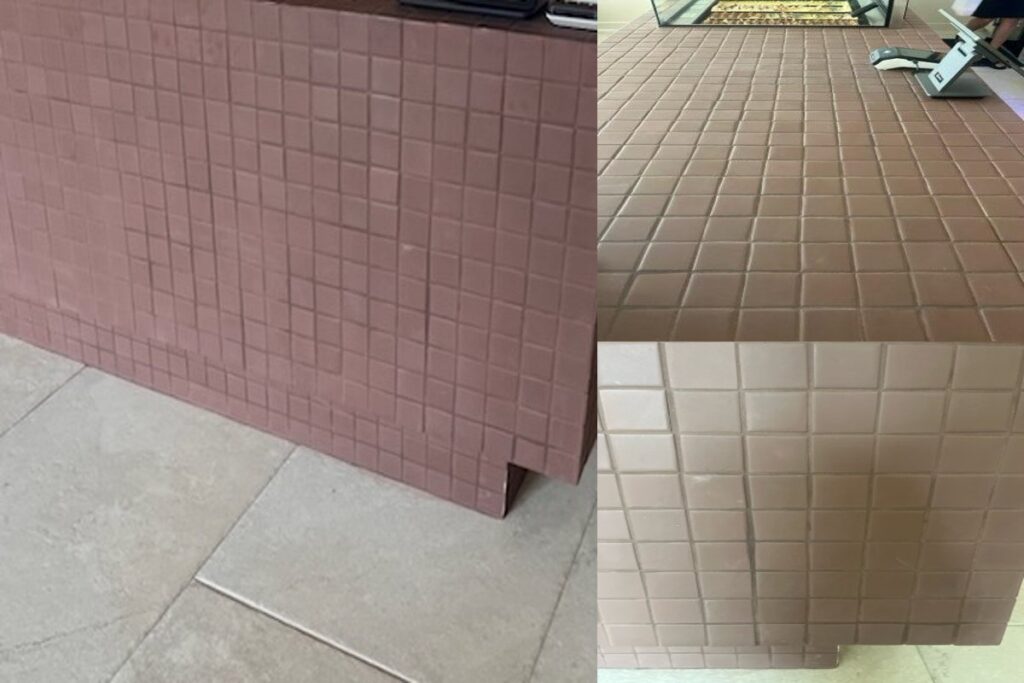
7. Cracked tiles or grout
When tiles get cracked or grout deteriorates, water can seep through– leaking to wet floors and leaks that can affect other parts of the home.
8. Deteriorated silicone
Silicone seals gaps around the shower, preventing water from leaking out. So if it’s damaged, your floors and walls might see water damage, too.
8 Ways to Fix Your Leaking Shower Before It Gets Worse
1. Replace Seals
The seals on your shower door are crucial in keeping it watertight. However, they can deteriorate over time due to constant exposure to water, temperature fluctuations, and cleaning agents.
When they become brittle or crack, water can seep through, leading to leaks.
So, how do you stop a shower door from leaking? Inspect your shower door carefully. If any part of the seal is broken, you’ll need to contact a glazier to replace it safely.
2. Tighten Your Leaking Shower Head or Faucet
If you’re constantly wondering, “Why is my shower dripping?” the answer could be that your fittings are faulty or loose. Loose fittings are usually caused by improper installation or deterioration of the rubber washers or O-rings.
You can prevent water from coming out of the shower head and faucet by checking if your fittings are tightly secured. Turn off the water supply and use a wrench to tighten any loose shower head or faucet connections if needed.
Sometimes, hard water (mineral deposits) might build up within your fixtures, causing a leaking shower head or leaking shower hose. You can scrub away these deposits with a simple solution. In a pan, mix vinegar with water and boil. Pour the mixture onto an old rag and place it on the area with built-up water for at least 20 minutes. Then, use an old toothbrush to scrub the fixture or pipe until it’s clean.
If you find the shower head and shower valve dripping even when you maintain them often, you may need a replacement fixture and rubber washer. Or, there could be another issue that causes your leaky shower head and faucet.
3. Repair Grout and Tiles
Tiles and grout in the shower area are constantly exposed to moisture, which can lead to cracks or deterioration over time. Water can seep through these cracks, causing damage to the underlying structure. This is a common reason why your shower might be leaking from the base.
Regularly examine the wall and floor tile for any cracks or gaps. If you find damage, clean the area thoroughly and apply new grout or adhesive to seal the cracks. For more extensive damage, replace the affected tiles to ensure a watertight surface.
4. Unclog the Drain
A clogged shower drain is a common problem that can lead to water backup and subsequent leaking. Hair, soap scum, and other debris can accumulate in the drain, obstructing the water flow.
Use a plunger or a plumber’s snake to clear existing clogs in the pipe. Install a drain cover to catch hair and other debris. For persistent clogs, you might need to use a chemical drain cleaner to clear the pipe.
5. Hire a Plumber
Sometimes, the root cause of the water damage comes from behind the bathroom walls or below the floor. Pipes and connections can all corrode, break, or become loose over time.
If you suspect a leak in the shower wall or floor pipes, the safest option is to seek professional help. Plumbers can perform thorough inspections, identify the source of the leak, and carry out the necessary repair or replacement.
Leaks can also stem from the water supply. As with leaks in the bathroom wall or floor, you should hire a plumber to fix the issue.
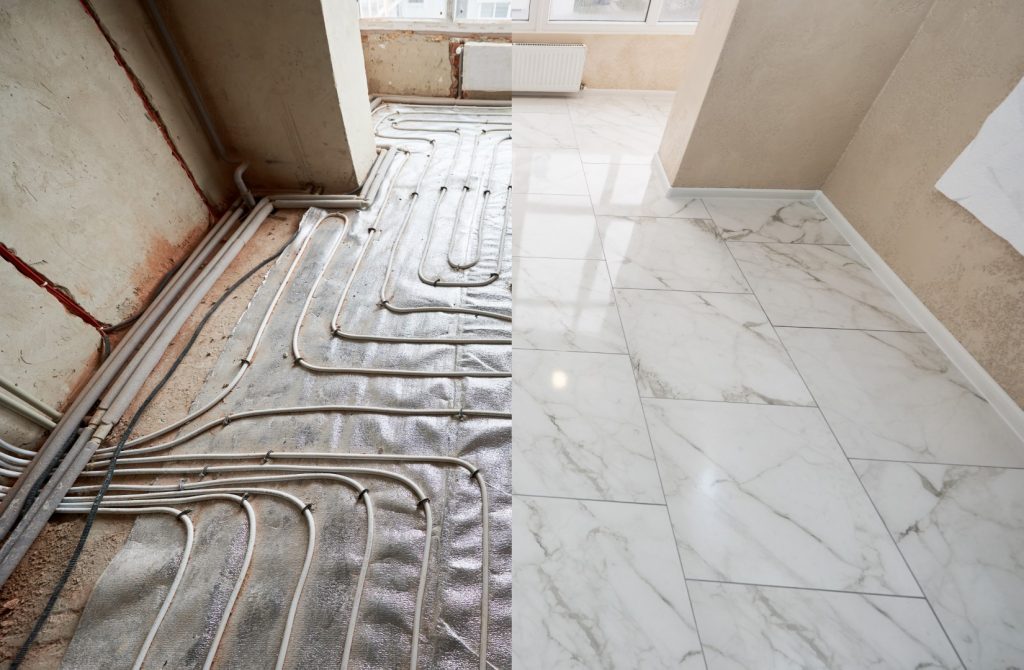
6. Redo the Waterproofing
Waterproofing is essential for wet areas of the home, such as bathrooms and laundry rooms. So. if the waterproofing beneath your shower or tub is damaged, it’ll likely leak water until it’s fixed.
This process involves removing the existing tiles, extracting the damaged liner, and installing a new waterproofing membrane to protect the structure of your house from water. After the new membrane is laid correctly, your bathroom floor and walls must be retiled to seal the entire shower base.
Given the complexity and precision required for the process, the best thing to do is hire a certified waterproofer. Hiring a professional will ensure that the leak is adequately secured, preventing water damage in the future.
7. Replace deteriorated silicone
Silicone caulk sealant prevents water leaks by sealing gaps around the shower tray, door, and surrounding wall. Over time, silicone can get worn down, shrink, or develop mould, leading to gaps that allow water to seep through. This can be a reason for water leaking from the bottom of your shower unit.
Check the sealant around the edges of the shower tray and door and where the tiles meet fixtures. If you notice any cracking, shrinking, mould, or gaps, it’s time to replace the silicone.
Remove the old silicone carefully, wash the area thoroughly, and apply a new bead of high-quality silicone sealant with a caulking tool. Ensure a smooth, even application, and give it enough time to dry completely before showering.
This simple fix can effectively seal gaps and help prevent your shower base from leaking.
8. Prepare with Prevention
Preventative maintenance is the best way to avoid water leaking from your shower.
- Regularly inspect your shower for signs of wear or damage, and address any issues promptly.
- Clean your shower drain often to prevent the buildup of debris and mineral deposits.
- Be mindful of the products you use in your shower. Harsh chemicals can accelerate the deterioration of seals, gaskets, and other components.
- Avoid putting excessive weight on fixtures, such as hanging heavy items on the shower head, and be gentle when opening and closing the shower door.
Sealed Shower, Wiser Washing
Dealing with a leaking shower can be frustrating, but understanding the warning signs and causes can help you deal with the issues effectively. Then, you can quickly go back to warm, cosy showers without the risk of tile damage or water wastage.
Does your house need waterproofing or tile replacement? Contact Ray Tiling. We are the highest reviewed tiling services in Auckland.We handle everything from bathroom tiling, floor tiling, and waterproofing. Ray Tiling has been helping customers keep their homes leak-free for over 15 years with ultra-fast turnarounds! Talk to us today to receive a free quote within 24 hours. Need any tiling-related help? Send us a message for expert advice!